Timeline Mission operations
Timeline operations

| Operation | What to do |
|---|---|
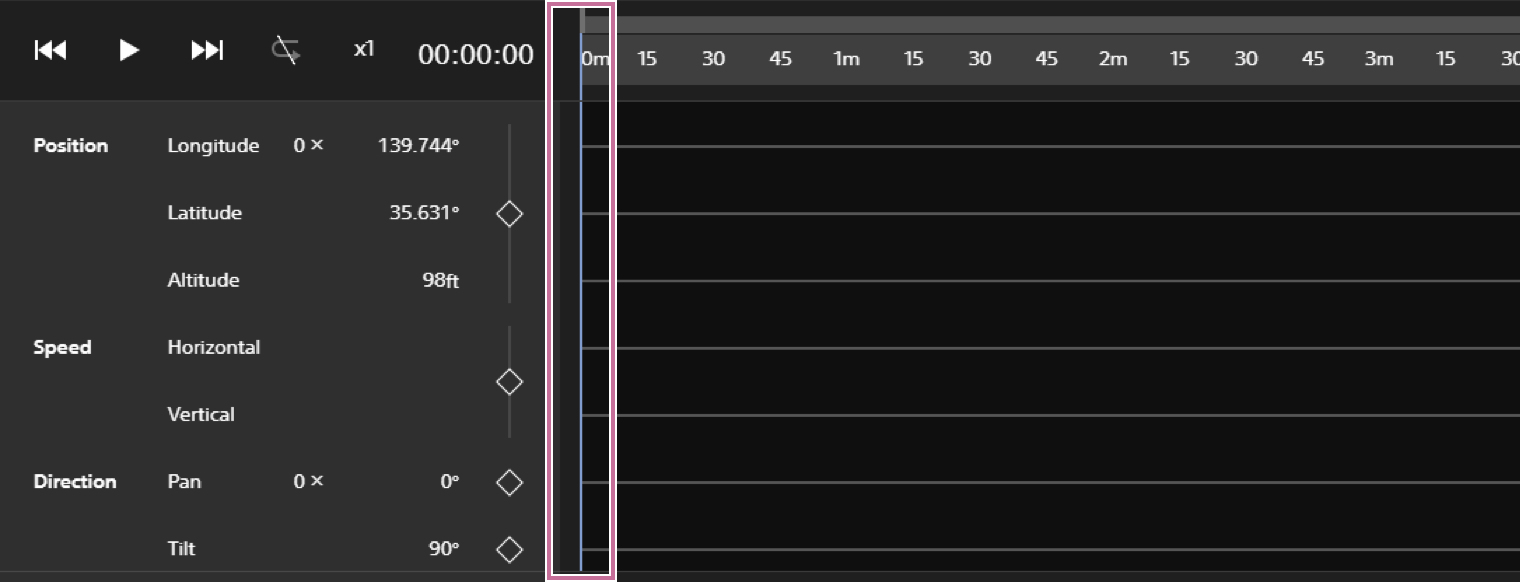
| Extend or shorten the area displayed on the timeline | Drag the edges of the display area bar located above the time ruler |
| Scroll through the timeline | Drag the display area bar located above the time ruler |
Displaying parameter values as a graph
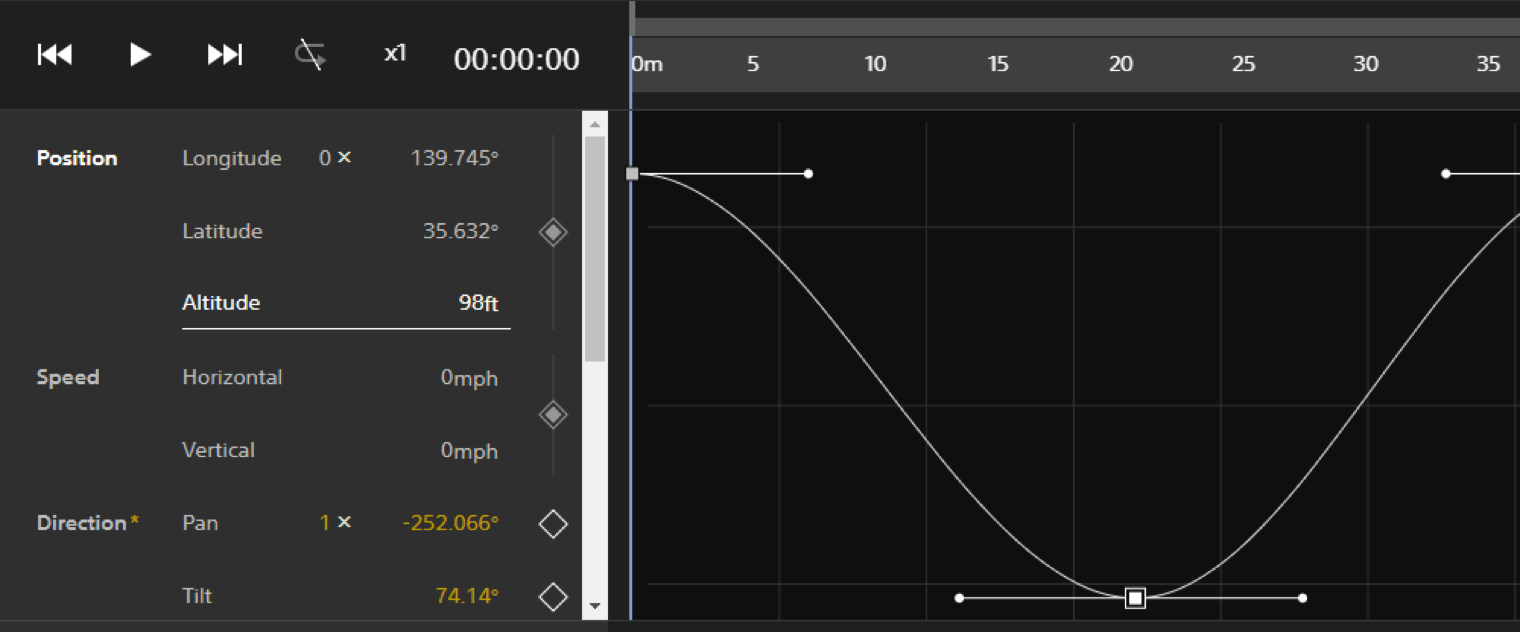
Click on an item in the parameters list to display a graph of that parameter’s values on the timeline.
Indicator operations
| Operation | What to do |
|---|---|
| Move the indicator one frame at a time | Select the time ruler or the timeline and press the left or right arrow keys |
| Move the indicator 10 frames at a time | Select the time ruler or the timeline and press Shift + left or right arrow keys |
| Move the indicator to the position of the previous keyframe | Click the Go to previous keyframe icon on the control bar |
| Move the indicator to the position of the next keyframe | Click the Go to next keyframe icon on the control bar |
| Move the indicator to any desired position on the timeline | Click the desired position on the time ruler or the timeline, or drag the indicator to the desired position |
| Continuously move the indicator (play) | Click the Play icon on the control bar |
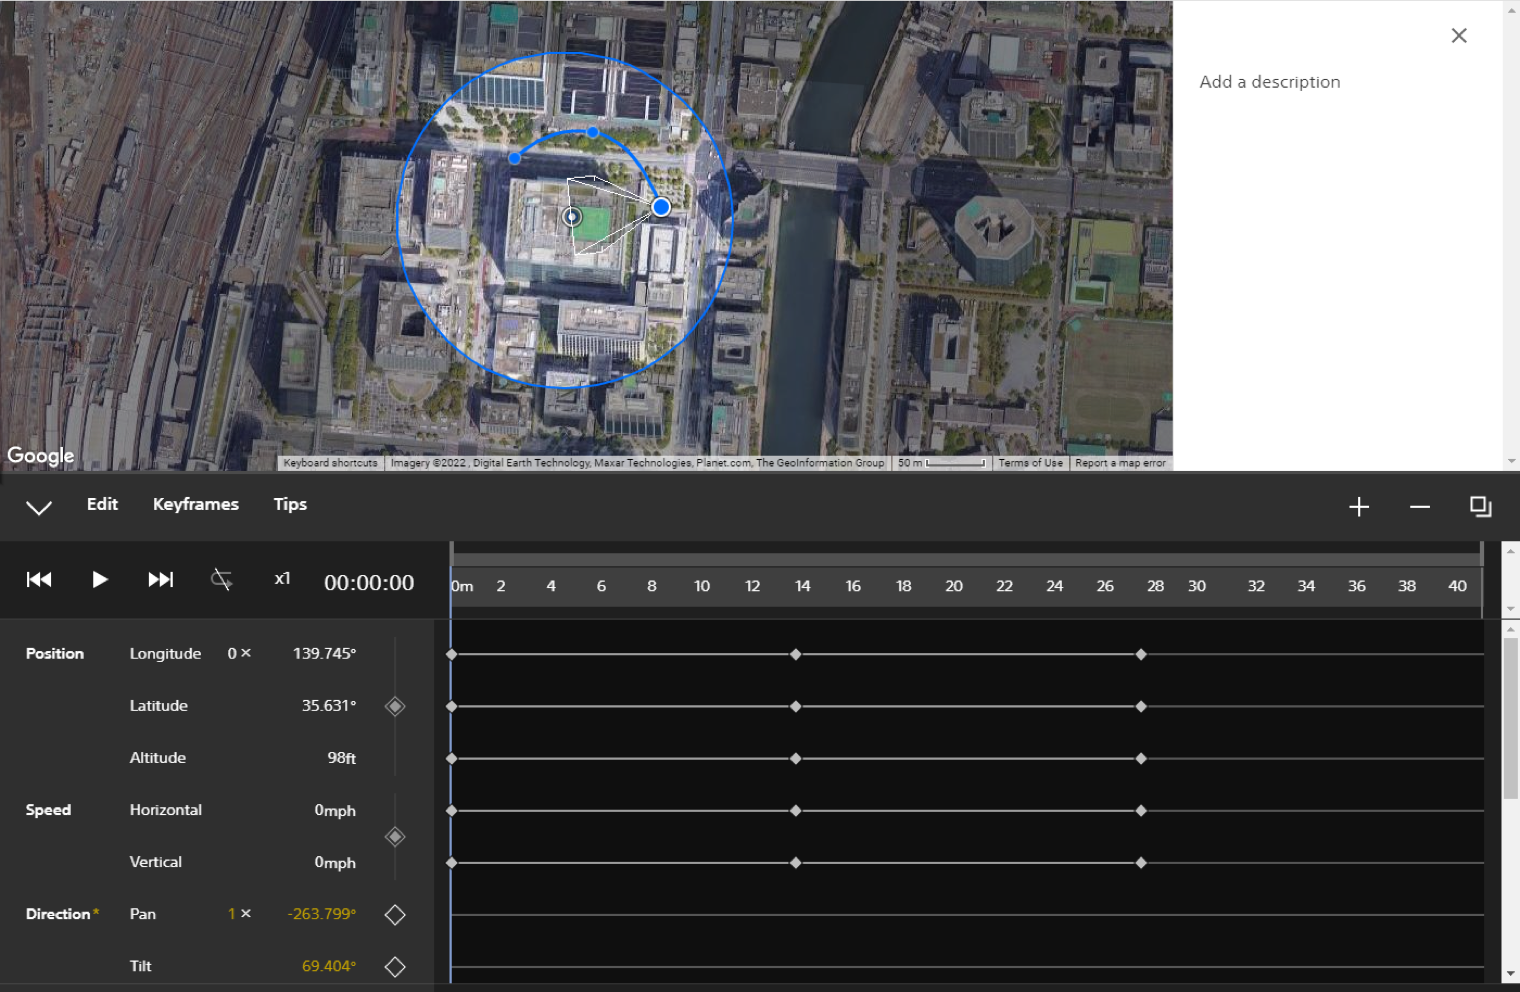
Keyframe operations
Screen may differ depending on the country/region of use and the account status.
On the Airpeak Base Timeline Mission screen, keyframes can be arranged in the timeline or on the workspace to specify details such as aircraft position, camera direction, and shooting timing.
| Operation | What to do / Explanation | Keyboard shortcut (Windows) | Keyboard shortcut (Mac) |
|---|---|---|---|
| Save mission | Select Save on the title bar | Ctrl + S | command (⌘) + S |
| Save mission as | Select Save as on the title bar | Ctrl + Shift + S | command (⌘) + shift (⇧) + S |
| Undo operation | Select Edit on the toolbar > Undo | Ctrl + Z | command (⌘) + Z |
| Redo operation | Select Edit on the toolbar > Redo | Ctrl + Y | command (⌘) + shift (⇧) + Z |
| Add or overwrite a keyframe | Align the indicator with the time at which you want to add a keyframe, then click the Add keyframe icon on the parameters list | - | - |
| Select a keyframe | Click on the keyframe | - | - |
| Select multiple keyframes | Shift + click on the keyframes | - | - |
| Select a range of keyframes | Shift + drag over the workspace, or Shift + drag over the timeline | - | - |
| Select all keyframes | Select Edit on the toolbar > Select all | Ctrl + A | command (⌘) + A |
| Deselect keyframe(s) | After selecting the keyframe(s), click a location other than the keyframe(s), or select Edit on the toolbar > Deselect | Ctrl + Shift + A | command (⌘) + shift (⇧) + A |
| Delete keyframe(s) | Select the keyframe(s), then select Edit on the toolbar > Delete | Del | delete |
| Cut keyframe(s) | Select the keyframe(s), then select Edit on the toolbar > Cut | Ctrl + X | command (⌘) + X |
| Copy keyframe(s) | Select the keyframe(s), then select Edit on the toolbar > Copy | Ctrl + C | command (⌘) + C |
| Paste keyframe(s) | After cutting or copying the keyframe(s), align the indicator with the time at which you want to add the keyframe(s), then select Edit on the toolbar > Paste | Ctrl + V | command (⌘) + V |
| Edit keyframe values | Align the indicator with the keyframe you want to edit, then edit the values in the parameters list. Alternatively, double click (computer) or press and hold (tablet) the keyframe, then edit the value in the dialog. | - | - |