Creating a new Timeline Mission using a flight log
Make use of flight logs to create new Timeline Missions efficiently.
Instructions
Click on the flight log that you want to reuse on Logbook.
Click on the flight log that you want to reuse.
Click on
Showto open the flight log details panel.Set the range on the timeline of the flight log to convert.
Drag the slider on the flight details panel and set the start point and end point.Click on
Convertat the top right of the flight log screen.In the dialog, select the quality at which you want to convert a flight log to a Timeline Mission, and then click on
Convert.
SelectingHigh (Number of keyframes: Many)will increase the number of keyframes, although the reproducibility will be higher. If you want to edit the Timeline Mission after conversion, it is recommended to convert the flightlog using the setting with fewer keyframes.Image ©2022, Digital Earth Technology, Maxar Technologies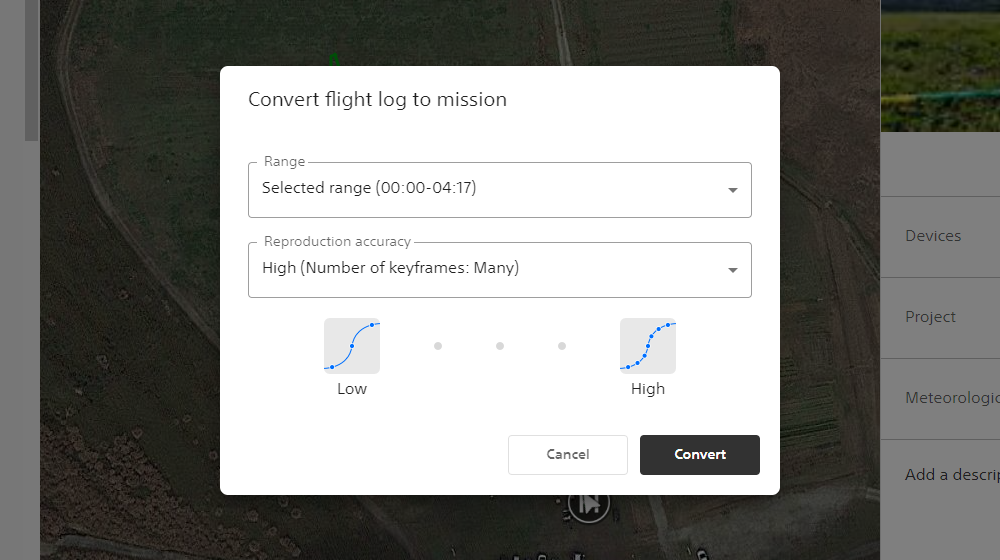
In the dialog, select the project to which you want to add a new Timline Mission, and then click on
Convert.
The flight log will be saved as a new Timeline Mission for the selected project.